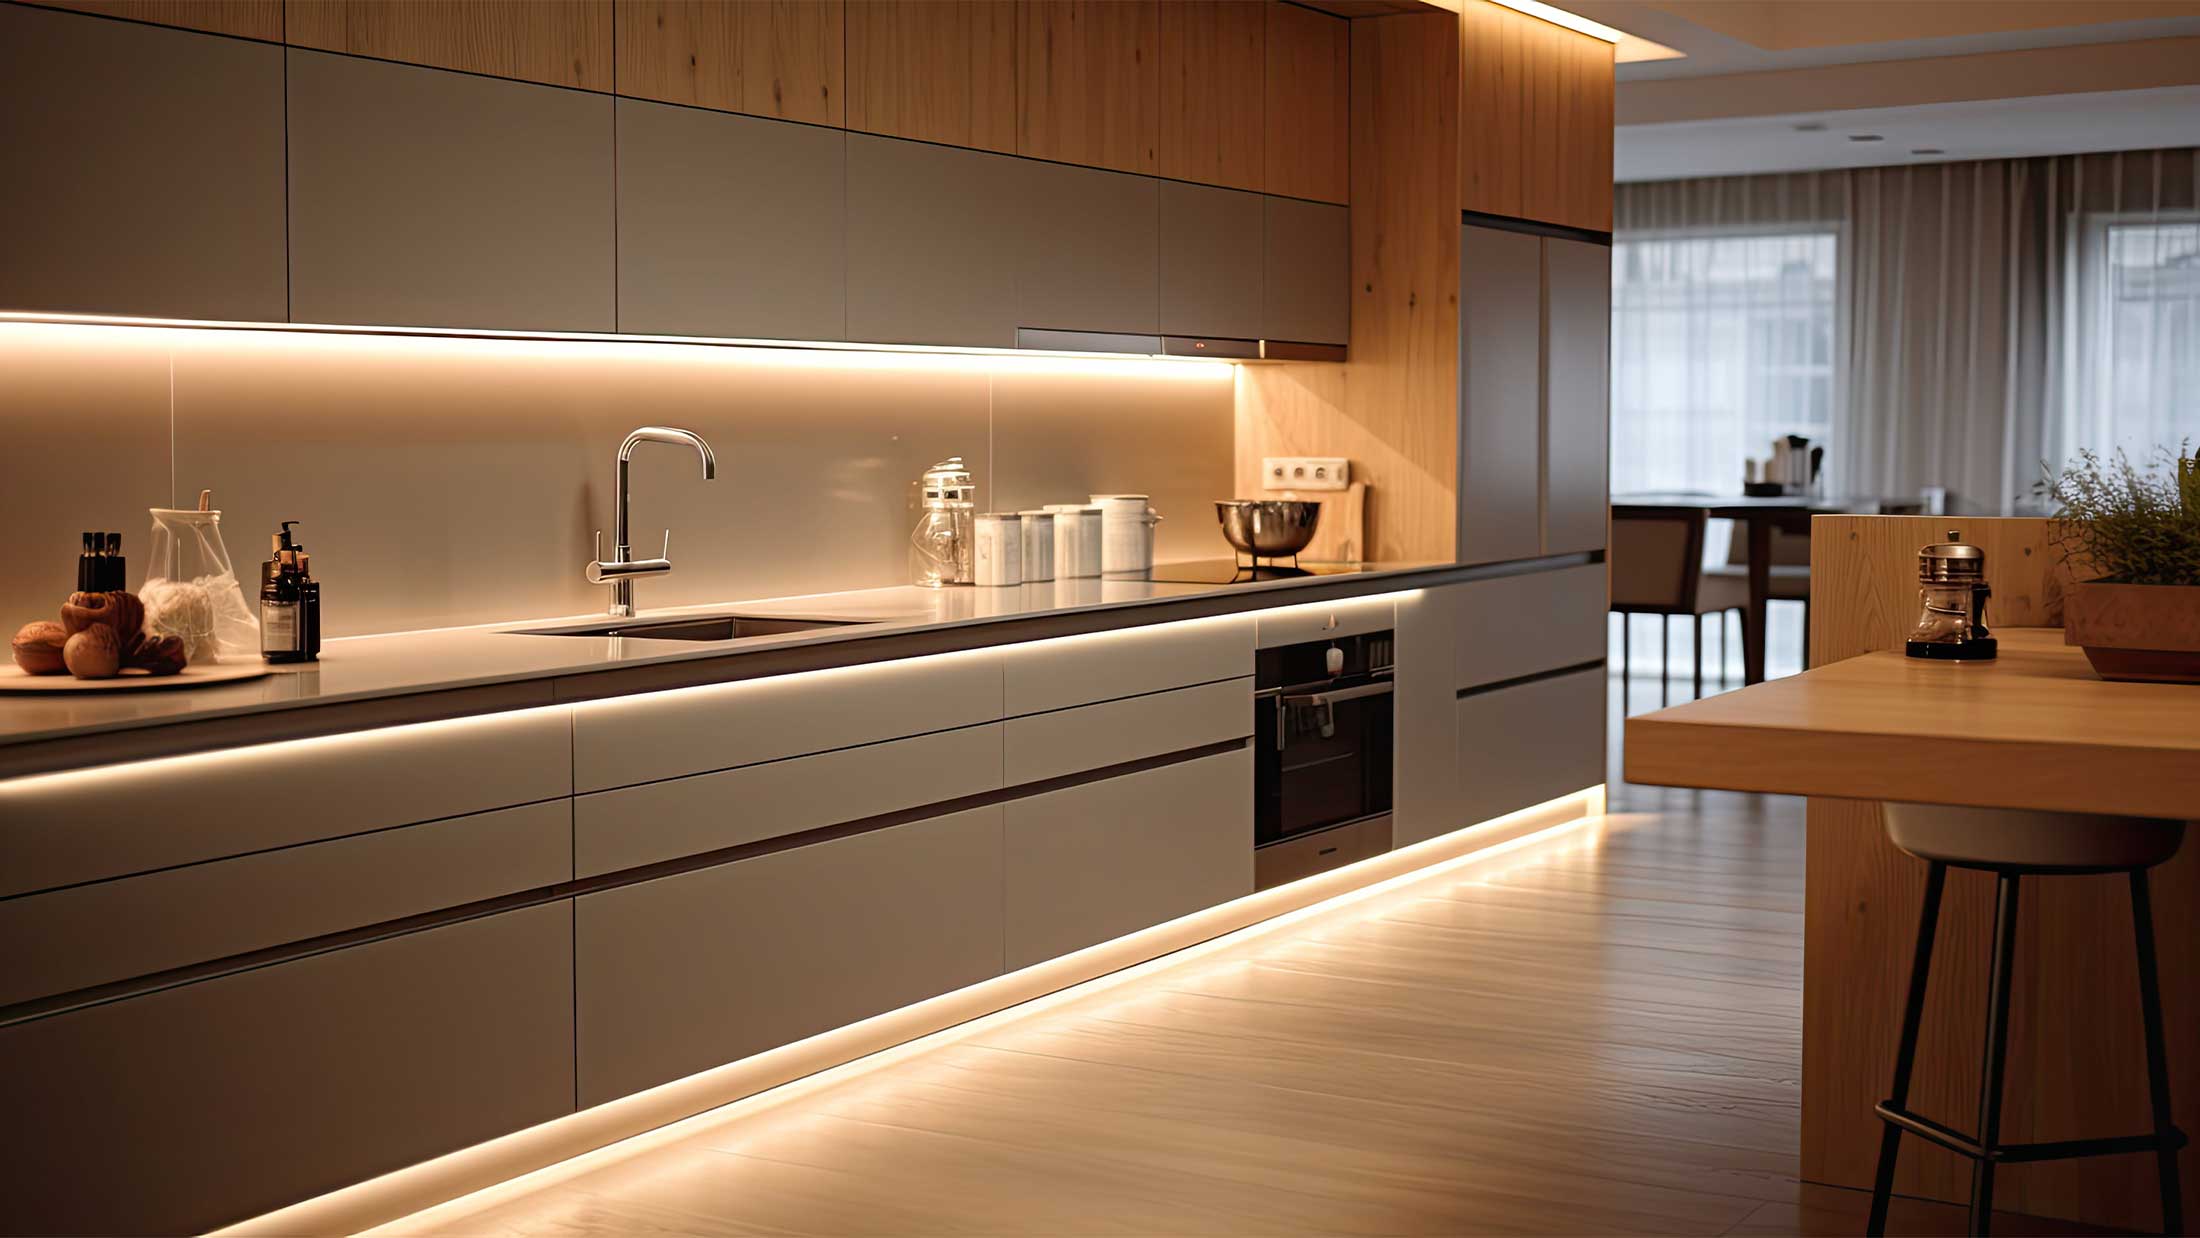
LED strips are among the most popular methods of modern lighting for both homes and commercial spaces. They are used for indirect lighting of ceilings, kitchen cabinets, staircases, shelves, furniture, and decorative interior elements. Although the installation itself is not complicated, many people ask: How do I connect an LED strip correctly and safely?
Proper installation of LED strips involves more than just connecting a few wires. It is important to select the right power supply, observe polarity, ensure proper power rating, and use high-quality cooling. Installation errors can lead to a reduced lifespan of the LED strip, uneven lighting, or even damage to the entire system.
The good news is that most standard installations can be handled by a skilled DIYer without specialized electrical knowledge. If you follow the instructions correctly and use the right components, you can safely install an LED strip in just a few minutes.
In this article, we’ll explain step by step how to connect an LED strip to a power source, how to calculate the required transformer power, when to choose a 12V or 24V LED strip, and what mistakes to watch out for during installation.

Article content
- What do you need to connect an LED strip?
- How to choose the right power supply for an LED strip?
- How do you calculate the power of an LED strip and its power source?
- How to install LED strips step by step
- Why install LED strips in aluminum profiles?
- Common mistakes when connecting LED strips
- Frequently Asked Questions
What do you need to connect an LED strip?
Before you begin installation, you need to prepare all the components of the LED system. Properly selected components have a significant impact on safety, lifespan, and lighting quality. Most standard LED strip installations use a low-voltage 12 V or 24 V power supply, so in addition to the strip itself, you must also use a suitable power supply and a high-quality connection method.
To install LED strips, you will usually need:
- LED strip (12 V or 24 V) – basic light source.
- Power supply (transformer) – converts 230 V mains voltage to the safe voltage required for LED strips.
- Connectors or solder – used to connect the LED strip to the power source or to individual sections of the strip.
- Switch, dimmer, or controller—optional accessories for controlling light intensity or color.
- Aluminum profile for LED strips – provides cooling and extends the lifespan of the LED strip.
- Diffuser (profile cover) – diffuses light and creates a more even lighting effect.
Important: Never connect an LED strip directly to a 230 V electrical outlet. Always use a suitable power supply that matches the voltage and power rating of the installed LED strip. Incorrect wiring can damage the light source or significantly shorten its lifespan.
How to choose the right power supply for an LED strip?
Choosing the right power supply for LED strips is one of the most important steps in the entire installation process. The power supply, often referred to as an LED strip transformer, converts the 230 V mains voltage to a safe 12 V or 24 V voltage, which the LED strips use for operation.
Using an incompatible power supply can cause the light to flicker, overheat the electronics, shorten the lifespan of the LED strip, or even damage it. That is why it is important to ensure not only the correct voltage but also sufficient power output from the power supply.
The power supply voltage must match the LED strip
The first parameter is voltage. If the LED strip is rated for 12 V, you must use a 12 V power supply. The same rule applies to 24 V LED strips. Mixing different voltages is not possible and may cause the system to malfunction or become damaged. If you are unsure about your selection, please also check out our selection of LED strips, where you will find various options.
- 12V LED strip → 12V power supply
- 24V LED strip → 24V power supply
The power source must have a margin
In addition to the correct voltage, it is also important to select a power supply with sufficient output. It is recommended to leave a margin of at least 20–30% so that the power supply does not operate at the limit of its capacity. We will demonstrate the exact calculation in the following chapter.

How do you calculate the power of an LED strip and its power source?
Correct power calculation is key to the trouble-free operation of LED lighting. If you choose a power supply that is too weak, it can cause flickering, overheating, or unstable lighting. Conversely, a properly sized power supply ensures a long service life for the entire installation and reliable operation.
The calculation is quite simple. You only need to know the length of the LED strip and its power consumption in watts per meter (W/m).
Formula for calculating the power of an LED strip:
Strip length (m) × Power consumption per meter (W/m) = Total power consumption (W)
For example, if you are using a 5-meter LED strip with a power consumption of 10 W/m, the calculation will be as follows:
5 × 10 W = 50 W
However, a power supply should never operate at its maximum capacity. It is recommended to maintain a power reserve of at least 20–30%.
50 W × 1.2 = 60 W
Therefore, a power supply with a minimum output of 60 W is suitable for this LED strip. In practice, it would be ideal to use, for example, a 75 W power supply.
For longer installations, it is also advisable to pay attention to voltage drop. For longer LED strips, it is often recommended to use multiple power sources or 24V LED strips, which have lower voltage drop than standard 12V versions.
How to install LED strips step by step
Installing an LED strip is not complicated if you have all the necessary components ready and have selected the correct power supply. Before beginning installation, we recommend checking the LED strip’s voltage and the power supply’s output, and preparing the installation site. The following procedure is suitable for most common 12V and 24V LED strips used in homes.
Step 1: Measure the required length of the LED strip
First, carefully measure the area where you want to install the LED strip. This will help you easily determine the required length of the strip and the power output of the power supply. At the same time, check the power consumption of the LED strip in W/m, which you will need to correctly calculate the power supply.
Step 2: Cut the LED strip to the desired length
LED strips can only be cut at the points designated by the manufacturer, which are usually marked with a pair of scissors or a dotted line. These points are typically spaced a few centimeters apart, depending on the type of strip.
Important: Never cut the LED strip outside the marked points. Doing so could damage the electrical connections and cause part of the strip to malfunction.

Step 3: Connect the LED strip to the power source
After cutting the strip to length, you need to connect the power wires. Connections can be made using quick connectors or by soldering. For a long-term, reliable installation, soldering is recommended, as it creates a stronger and more durable connection.
When connecting, always observe the correct polarity indicated by the + and − symbols. If you reverse the wires, the LED strip will generally not be damaged, but it will not light up.
Step 4: Test the wiring
Before final installation, connect the power supply to the electrical outlet and test the functionality of the entire setup. Check that the LED strip lights up evenly along its entire length and that there is no flickering or overheating of the power supply.
If you are using a dimmer, remote control, or RGB controller, we recommend testing them to ensure they are working properly.
Step 5: Install the LED strip into the aluminum profile
After a successful test, you can attach the LED strip to the prepared aluminum profile and install the cover diffuser. The aluminum profile dissipates the heat generated during operation and significantly extends the lifespan of the LED strip.
The profile can then be mounted on a wall, ceiling, piece of furniture, or other prepared surface depending on the intended use.
Tip: For longer LED strips, we recommend powering them from multiple points to prevent voltage drop and uneven lighting at the end of the installation.
Why install LED strips in aluminum profiles?
Many people consider aluminum profiles for LED strips to be merely a design accessory. In reality, however, they serve an important technical function and can significantly affect both the lifespan and quality of the lighting. Although some LED strips can be attached directly to furniture or walls, using an aluminum profile is the recommended solution in most cases.
The main purpose of the heat sink is to dissipate the heat generated during LED operation. Although LED lighting produces significantly less heat than traditional incandescent bulbs, a certain amount of thermal energy is always generated. If heat accumulates over time, it can lead to a reduction in light output, a change in light color, or a shortened lifespan of the LED strip.

The aluminum profile acts as a heat sink, dissipating heat from the LEDs into the surrounding environment. As a result, the LEDs operate at a lower temperature and retain their performance characteristics for a longer period of time.
Another advantage is that the strip itself is protected from mechanical damage, dust, and dirt. Furthermore, when a cover diffuser is added, a more uniform light line is created without visible individual LED points, which gives a significantly more professional appearance.
The main advantages of aluminum profiles for LED strips include:
- Better cooling of the LED strip and longer lighting lifespan,
- more even light distribution using a diffuser,
- protection against damage, dust, and moisture,
- a more aesthetic appearance of the installation,
- Easier installation and cable routing.
For more powerful LED strips with higher power consumption, the use of an aluminum profile is practically essential. A properly designed installation with a high-quality profile can significantly extend the lifespan of LED lighting and ensure stable light output for many years.
Common mistakes when connecting LED strips
Although installing LED strips is relatively simple, certain mistakes are made very frequently. They can cause the lights to flicker, provide uneven illumination, shorten the lifespan, or even render the entire installation completely inoperable. If you avoid these problems, your LED strip will function reliably for many years.
1. Use of a power supply that is too weak
One of the most common mistakes is using an undersized power supply. If the power supply’s output does not match the LED strip’s power consumption, the system may flicker, overheat, or shut down on its own. Therefore, it is always advisable to allow for a power reserve of at least 20–30%.
2. Installation without an aluminum profile
Many users attach LED strips directly to furniture or walls without adequate cooling. Although LEDs produce less heat than traditional light bulbs, prolonged overheating can significantly reduce their lifespan. Using an aluminum profile for LED strips helps dissipate heat and protects the entire system.
3. Failure to observe wire polarity
When connecting the LED strip, it is essential to correctly connect the positive (+) and negative (−) terminals. If the wires are connected in reverse, the LED strip will usually not light up. Therefore, always check the connection before final installation.
4. Power supply from a single point that is too long
Longer LED strips may experience voltage drop. A typical symptom is lower light intensity at the end of the strip or color variations across different sections of the installation. The solution is usually to power the strip from multiple points or to use 24V LED strips, which are more resistant to voltage drop.
5. Poor-quality connectors and joints
Cheap connectors or poorly made connections can cause intermittent lighting, flickering, or increased contact resistance. For more demanding installations, soldering is therefore recommended, as it provides the most reliable and durable connection.
6. Choosing the wrong LED strip for the application
Each LED strip is designed for different conditions. For bathrooms, outdoor areas, or places with high humidity, it is necessary to choose models with the appropriate IP rating. Using an unsuitable strip can lead to rapid damage or a reduced lifespan of the lighting.
Final tip: Always test the entire system before final installation. This will help you identify any wiring errors before installing the system into the profile or furniture, saving you the trouble of having to take it apart later.
Conclusion
Properly connecting LED strips is not difficult if you choose the right power supply, correctly calculate the required power, and follow basic installation guidelines. High-quality wire connections and the use of an aluminum profile, which helps dissipate heat and extends the lifespan of the LED lighting, also play an important role.
Whether you’re installing LED strips under kitchen cabinets, behind a TV, in a drop ceiling, or as decorative lighting for furniture, careful preparation and proper installation will ensure reliable operation for many years. Thanks to their low energy consumption, long lifespan, and wide range of applications, LED strips are among the most popular solutions for modern lighting in both residential and commercial spaces.
Frequently asked questions about connecting LED strips
How do I connect an LED strip to 230 V?
Standard 12 V or 24 V LED strips cannot be connected directly to a 230 V electrical circuit. A suitable power supply must always be connected between the circuit and the LED strip to reduce the voltage to the level specified by the LED strip manufacturer.
Which power supply should I choose for an LED strip?
The power supply voltage must match the LED strip voltage (12 V or 24 V). The power supply capacity should be at least 20–30% higher than the total power consumption of the LED strip to ensure a long service life and reliable operation.
Can I connect an LED strip without a transformer?
No. Standard LED strips require a power supply that converts 230 V AC to a safe 12 V or 24 V DC. Connecting them directly would immediately damage the LED strip.
Can an LED strip be cut to size?
Yes. LED strips can only be cut at the points marked by the manufacturer, which are usually indicated by a pair of scissors symbol. Cutting outside these points may cause part of the LED strip to malfunction.
Does the LED strip have to be in an aluminum profile?
An aluminum profile is not always required, but it is recommended for most installations. It helps dissipate heat, protects the LED strip from damage, and extends its lifespan. It also gives the lighting a more professional look.
Why is the LED strip flashing?
Flickering in LED strips is most often caused by an unsuitable or underpowered power supply, poor-quality connections, loose wire connections, or an incompatible dimmer. It is recommended to check all parts of the wiring.
How long does an LED strip last?
High-quality LED strips typically have a lifespan of 25,000 to 50,000 hours of operation. Actual lifespan depends on the quality of the components used, proper cooling, and operating conditions.
What is the difference between 12V and 24V LED strips?
24V LED strips are better suited for longer installations because they have lower voltage drop and provide more uniform lighting along their entire length. 12V LED strips, on the other hand, are often used for shorter installations and where a shorter, divisible section of strip is needed.
Looking for high-quality LED strips? Choose from our selection
Are you planning indirect lighting for your ceiling, kitchen cabinets, staircase, or furniture? Browse our selection of LED strips in various wattages, color temperatures, and lengths. Choose a solution that meets your requirements for light output, appearance, and energy efficiency.
Browse LED strips


Share:
What is UGR and why is it important when choosing lighting?
What is CRI and how does it affect the appearance of colors in an interior?